6 Ways to Lock Down Your Smart Home Privacy in 2026
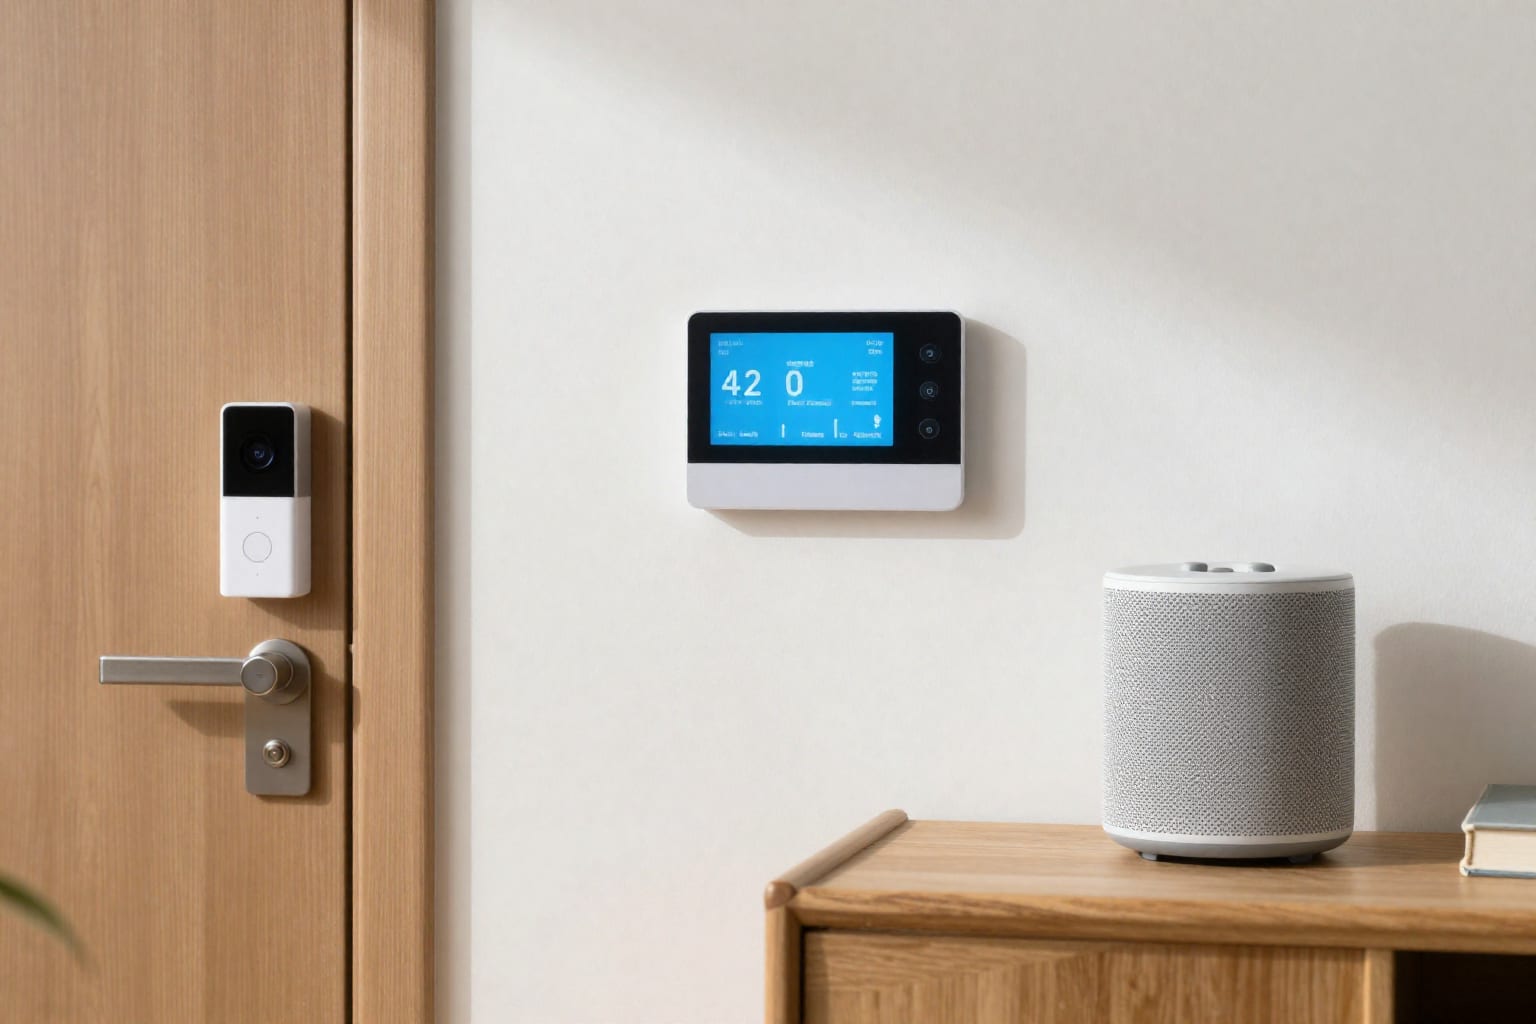
I've got a confession: until last year, I thought my smart home was private. Then I ran a network audit and watched my own thermostat phone home to a server in Shenzhen every three minutes. Not for weather updates—for a full report on when I was home, when I was asleep, and what temperature I liked at 2 AM. That was the moment I stopped trusting the marketing and started locking things down.
By 2026, the landscape has shifted. The old advice—just change your Wi-Fi password and hope for the best—won't cut it anymore. Hackers have gotten smarter, data brokers have gotten hungrier, and device manufacturers have gotten sneakier. But here's the good news: you don't need to throw out your gadgets or live in a tech-free cave. You just need a smarter approach. Below are six specific, actionable ways to make your smart home more private and secure this year.
Why Your Smart Home Is a Privacy Risk (And What Changed in 2026)
If you bought a smart plug in 2020, it probably still works—but its security is from a different era. Back then, most devices relied on cloud servers that logged everything. In 2026, that's not just annoying; it's dangerous. New regulations in the EU and California have forced some transparency, but not all manufacturers play fair. A 2025 study from the EFF found that 73% of popular smart-home devices still send identifiable data to third parties, even when you opt out of marketing.
What changed? Two things. First, Matter protocol became the default for new devices, which is great—but it also means older devices that don't support Matter are now orphaned, with no firmware patches. Second, AI voice assistants got creepier: they now process more data locally, but also store more voice snippets by default. The result? Your privacy is only as strong as your weakest device. And that weakest device is probably the one you bought on sale three years ago and never updated.
The real kicker? Most people still think their smart home is safe because they have a strong Wi-Fi password. That's like locking your front door but leaving the windows wide open. Let's fix that.
1. Audit Every Device’s Data Appetite (You’ll Be Shocked What They Collect)
When I did my first audit, I started with the obvious: my smart TV. I knew it tracked viewing habits. What I didn't expect was my smart scale sending my weight data to a cloud server every time I stepped on it—even when I wasn't using the companion app. That's the kind of data creep you need to hunt down.
Here's how to do it:
- Use a network monitoring tool like Pi-hole or Fing. Set it up on your router (or a Raspberry Pi) and let it run for 24 hours. You'll see every device that's talking to the internet, and to whom.
- Check each device's privacy policy in the app's settings. Look for phrases like "share with third parties" or "analytics." If it's vague, assume the worst.
- Disable unnecessary features. For example, my smart plugs didn't need to report energy usage to the cloud—I only wanted on/off control. Turn off telemetry, analytics, and voice-history collection where possible.
- Create a data diet. For devices that must phone home (like a weather station), limit them to only the data they need. My thermostat now sends temperature data once per hour, not every three minutes.
One surprising find: my robot vacuum was mapping my floor plan and uploading it to the manufacturer's cloud. I disabled that feature in the app—it still vacuums just fine, but now the map stays on my local network. Worth bookmarking this step before your next device purchase.
2. Use a Dedicated IoT VLAN (The Single Best Network Upgrade)
This is the upgrade that changed everything for me. A VLAN (Virtual Local Area Network) isolates your smart devices from your main network—your laptop, phone, and work computer stay safe even if a cheap smart bulb gets hacked.
Most modern routers in 2026 support VLANs, but you don't need to be a network engineer. Here's the simplified process:
- Log into your router's admin panel (usually 192.168.1.1 or via the app).
- Create a new network segment labeled "IoT" or "Smart Home." Set it to a different subnet, like 192.168.2.x.
- Enable guest network mode if your router doesn't support VLANs—it's a decent alternative for isolating IoT devices.
- Move all smart devices to this new network. You'll need to reconnect them via their respective apps.
- Set firewall rules to block the IoT network from talking to your main network. Only allow outbound internet access—not inbound from your main devices.
In my setup, I also enabled DNS filtering on the IoT VLAN using Pi-hole. That blocks ads and trackers before they reach my devices. The result? My smart home still works, but my main devices are invisible to it. A hacker who compromises my smart plug can't see my laptop or phone.
3. Disable Microphone and Camera Access by Default (Not Just When You Remember)
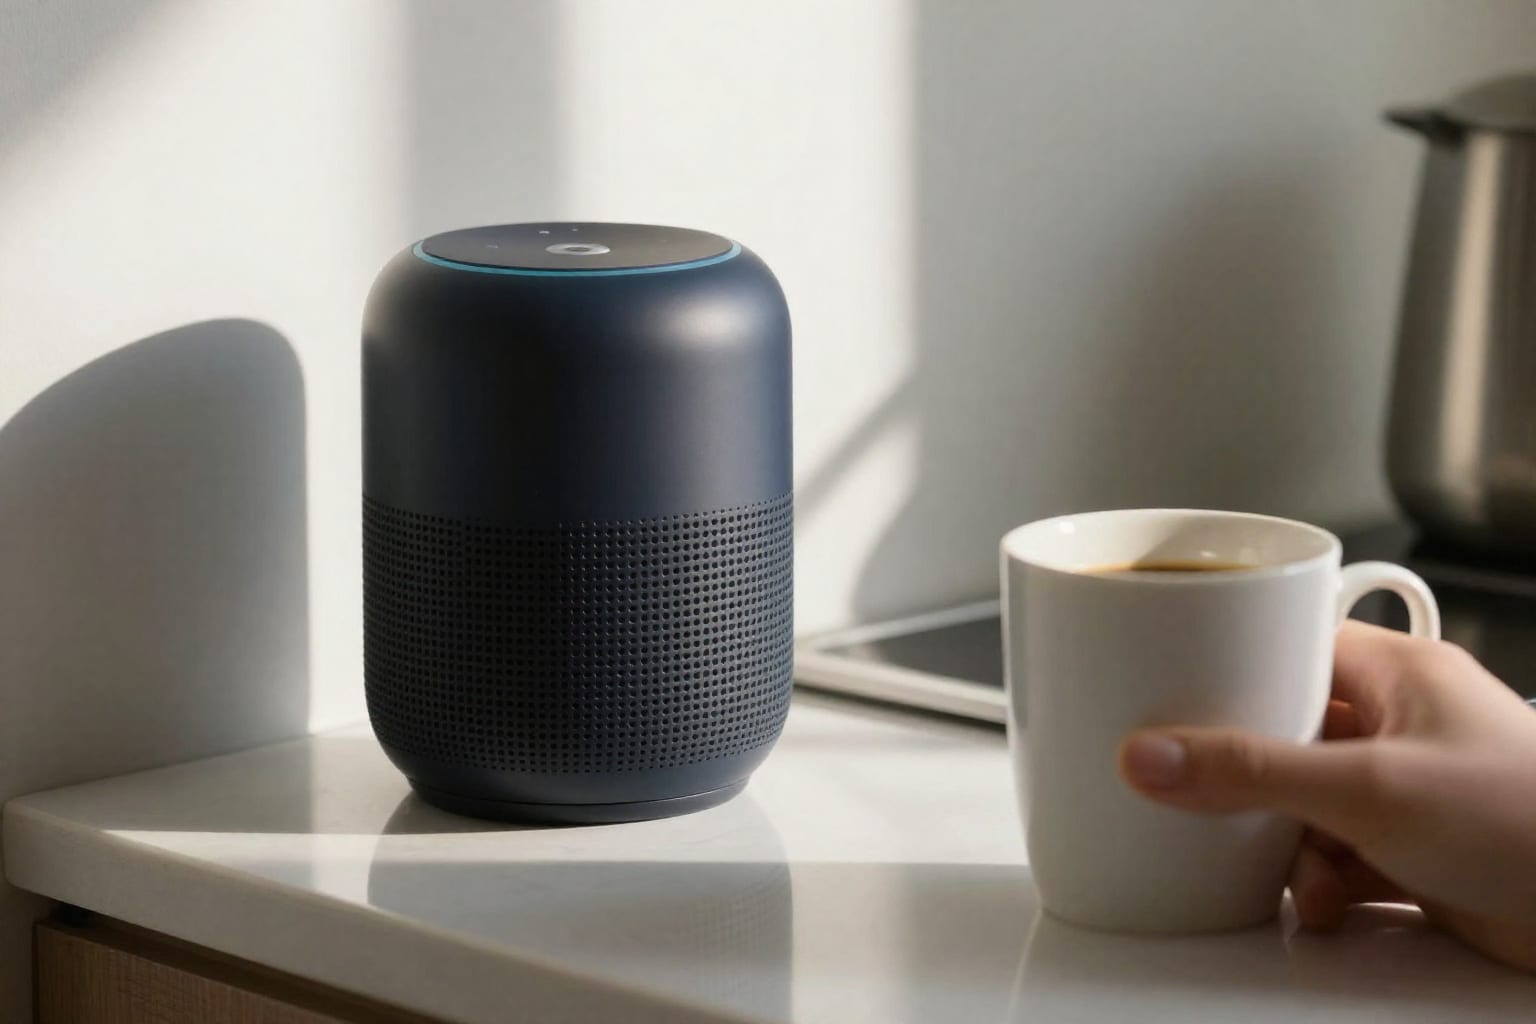
I used to manually mute my smart speaker every time I had a private conversation. Then I realized I was forgetting half the time. In 2026, that's not good enough. Newer devices have hardware kill switches—physical buttons that cut power to the microphone or camera. If yours doesn't, you need to set up OS-level permissions.
Here's what I do now:
- Smart speakers: I keep the mute button on by default. When I want to use voice commands, I tap it on, then off again. Treat them like a guest who's only invited when needed.
- Smart cameras: I set schedules so they only record when I'm away. For indoor cameras, I also use privacy shutters (stick-on covers) that I can slide open manually.
- Smart displays: I disable camera access in the settings unless I'm making a video call. And I review the call history weekly.
One counter-intuitive tip: don't rely on the app's "microphone off" toggle. Some apps still listen for wake words even when that toggle is off—they just don't save recordings. Test this by using a network monitor to see if audio data is still being sent. I found my old Echo Dot was still streaming audio to Amazon's servers even with mic access disabled in the app. The hardware mute button was the only thing that actually stopped it.
4. Update Firmware Religiously (But Do It Differently Than You Think)
Automatic updates sound great, but they're often delayed or incomplete. In 2026, many budget-brand devices (looking at you, generic smart plugs from Amazon) don't push updates automatically at all. You have to check manually.
Here's my routine:
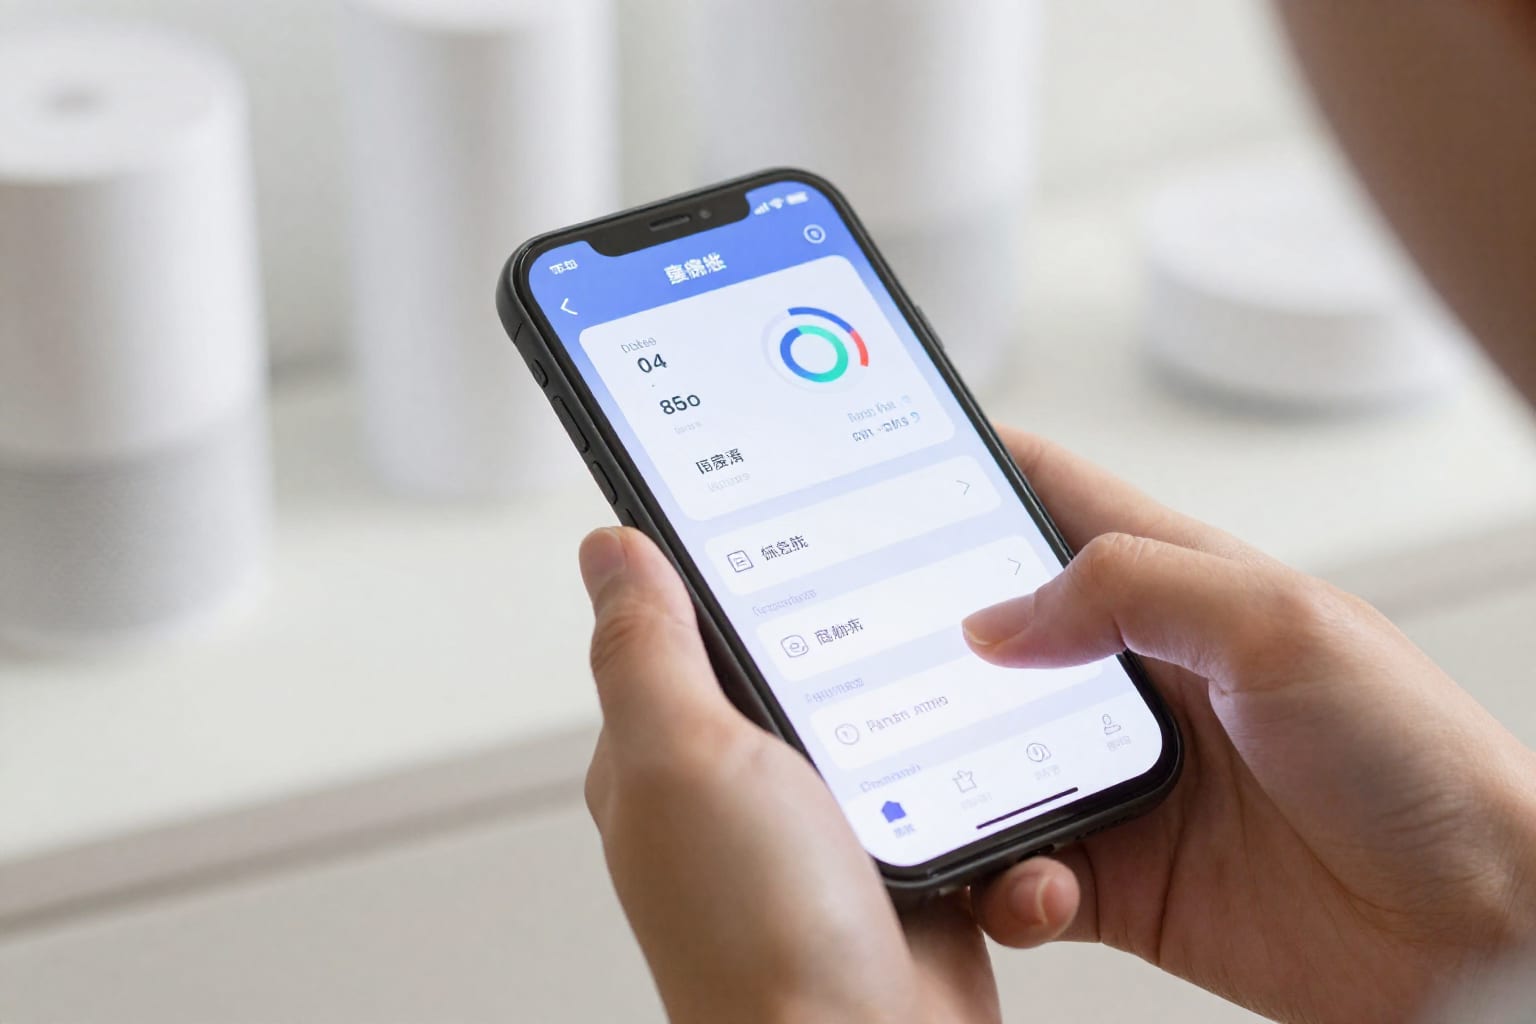
- Set a monthly calendar reminder for the first week of each month. I go through each device's app and check for firmware updates.
- Check the manufacturer's website if the app doesn't show it. Some brands bury update notes in support pages.
- Prioritize critical patches. If a device has a known vulnerability (check sites like CVE), update it immediately—don't wait for the monthly check.
- Replace orphaned devices. If a device hasn't received an update in over a year, consider replacing it with a Matter-compatible model that gets regular patches.
I learned this the hard way when my outdoor smart plug stopped working after a security patch broke its connection. But the patch was essential—it fixed a vulnerability that could have let someone unlock my garage door. Now I always read the release notes before applying updates.
5. Choose Local-Only Control Over Cloud Dependence
This is the most impactful change you can make. Cloud-dependent devices send your data to a server every time you flip a switch. Local-only control keeps everything on your home network.
How to do it:
- Switch to a local hub like Home Assistant on a Raspberry Pi, or a Hubitat Elevation. These work without internet access for most functions.
- Buy Matter-compatible devices that support local control. The Matter protocol allows devices to work without a cloud account—just a local controller like an Apple TV or Google Nest Hub.
- Avoid devices that require cloud accounts for basic functions. If a smart light needs an account just to turn on, skip it.
- Use local APIs for scripting. For example, I control my lights via a local API call from Home Assistant, not through the manufacturer's cloud.
My setup now: all lights, locks, and sensors run locally. The only cloud-dependent device is my thermostat, and I've restricted its data to temperature-only reports. The difference is night and day—no more worrying about a server outage or a data breach.
6. Implement a Privacy-First Smart Home Policy (For You and Your Family)
Privacy is a team sport. If your spouse or kids don't follow the same rules, your smart home is still vulnerable. Here's the policy I use with my family:
- Guest Wi-Fi: All visitors connect to a separate guest network that can't access smart devices. I have a simple QR code printed out for this.
- Temporary access: If a friend needs to control the lights or thermostat, I create a temporary account in the app that expires after 24 hours.
- Voice history deletion: I set a monthly reminder to delete voice recordings from all assistants. Most platforms let you auto-delete after 3 or 6 months—I use 3.
- Kids' devices: My kids' smart speakers are set to not save recordings, and I've disabled camera access on their tablets by default.
One rule that surprised my family: no smart devices in bedrooms. That includes smart speakers, cameras, and even smart plugs with energy monitoring. The risk of a leaky microphone or camera is too high in a private space. We keep them in common areas only.
Practical Takeaway: Start With One Device Tonight
You don't have to overhaul everything at once. Pick one device—maybe the one you're most worried about—and run the audit from step 1. Then move to the VLAN if you're comfortable, or start with the local-only control for new purchases. The most important thing is to stop trusting the default settings. Your smart home should work for you, not for a data broker in another country.
In 2026, privacy isn't a luxury—it's a choice you make every time you connect a device. And the best part? You don't need to be a tech expert to protect it. Just follow these steps, and you'll be miles ahead of most smart-home owners.